Atmospheric Pressure Breaker (APB) – An older style of anti-siphon valve for the system; usually does not have modern test cocks to check system or perform blow out procedures; should be used in conjunction with master electric valve.
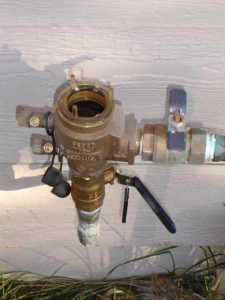
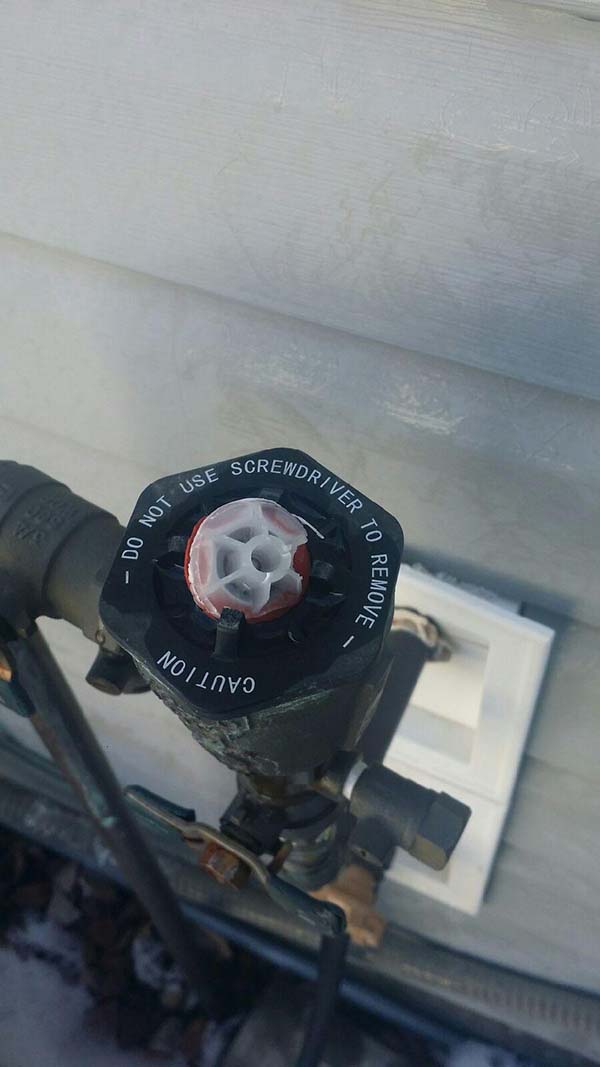
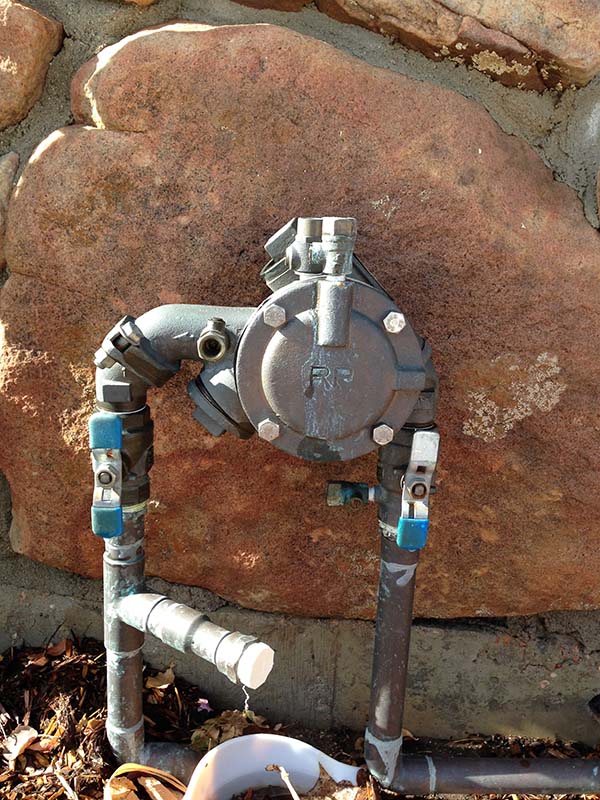
Ball Valve – This type of valve literally appears to be a steel ball that has been drilled through for the water to pass through it when the valve is in the open position; when closed the ball rotates to seal the pipe shut
Ball valve handles – the handles on the ball valves; often times coated with blue plastic
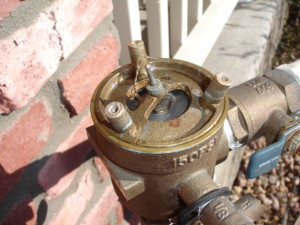
Bonnet – The upper portion of the vacuum breaker guts, on the Febco 765 model is amber colored and resembles a star. The poppet is the lower portions that moves up to the bonnet to complete the seal
Cable/ Timer wire – The complete strand of timer wires usually wrapped in a shroud of black vinyl or brown vinyl.
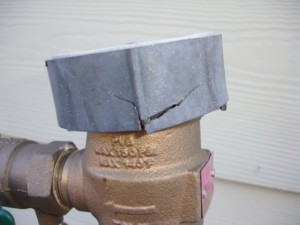
Canopy – The lid/ cover to the vacuum breaker; will typically be bronze colored or black plastic.
Collar – The rounded cap on the sprinkler head. The stem passes through the center of the collar.
Common Wire – This is the specific colored wire (commonly the white wire) that is attached to the “com” port in the timer and supplies power to the electric valves.
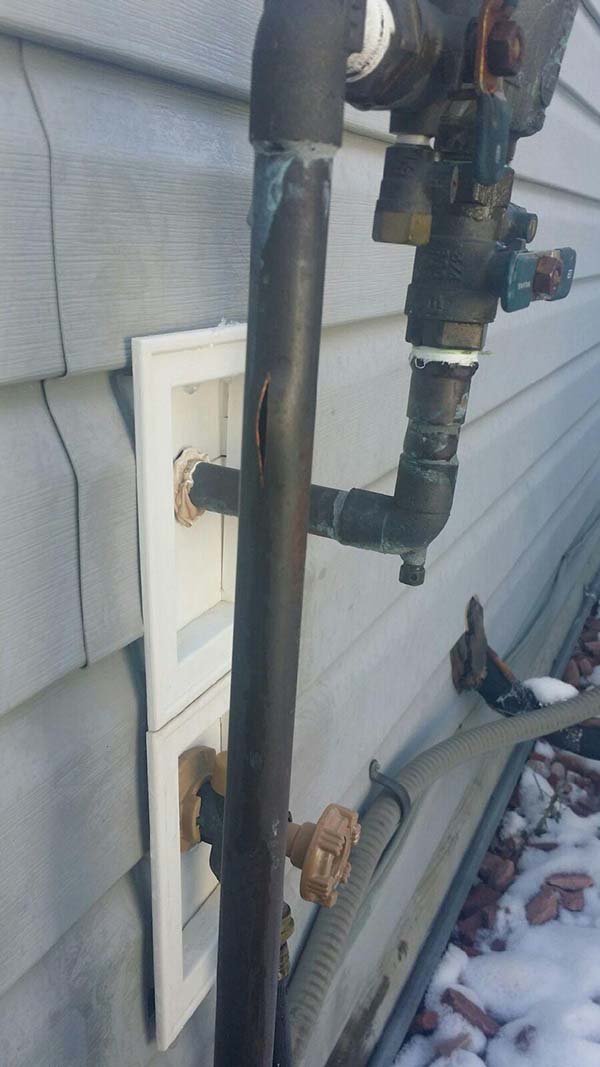
Copper pipe – Is typically L or M type and used above ground to connect vacuum breaker to the house and the manifold.
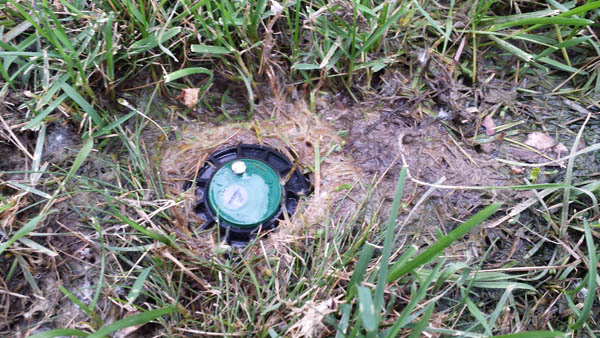
Electric Valve – In simple terms; this acts as the electronic door that opens and closes the station under orders of the timer and allows water to pass through to the sprinkler heads. It contains a diaphragm, solenoid and upper and lower housing. They can be installed inline or 90 degrees and are containing inside the irrigation box with a typical green cover/ lid to protect them from the elements
Febco 765 – The most common vacuum breaker on the market; the guts are plastic and are specific to the size of unit. 3/4 and 1 inch parts are not inter-changeable. The 1 inch canopy is very large and the 3/4 inch canopy is very small.
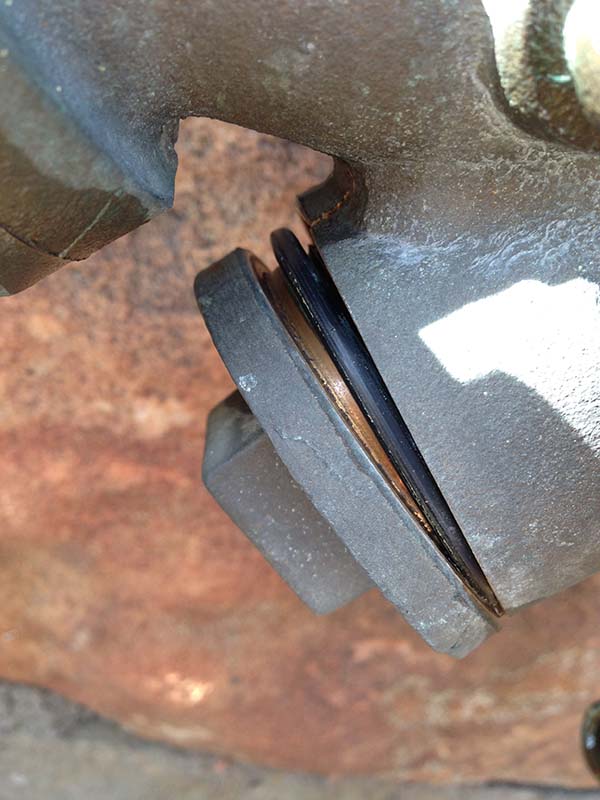
Gate Valve – This type of valves appears to look like a common rounded hose spigot handle you would find on an outdoor hose bib. (Usually found in older homes, sometimes with a drain sometimes not) These valves are notorious for failing since a literal metal gate is dropped down onto a metal receiver and metal on metal is never great for stopping water – at least not long term.
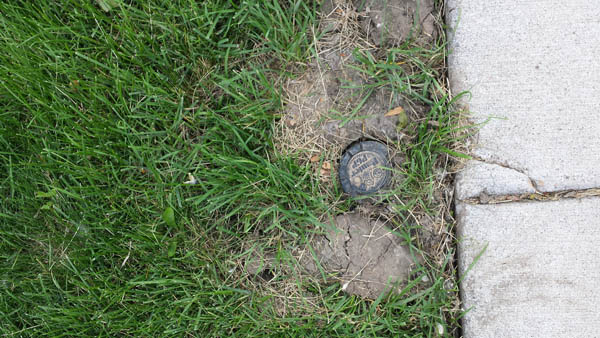
Irrigation Box (IB) – The container/ box usually underground, that housed the electric valves and/ or the manifold and the manifold drain, if so equipped
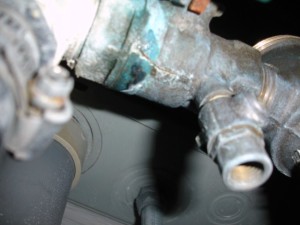
Manifold – The staging area of the electric valves and water until the electric valves signal the water to pass through. This section is 24/7 active all the time. Often made up of glued together PVC parts or pre-formed PVC tees. Often has a drain attached to the manifold for draining purposes.
MP Rotator – a special modern style of sprinkler head nozzle that actually rotates and throw streams of water at differing angles. This particular nozzle does save water over a standard nozzle but the tradeoff is not as much water gets placed on the lawn
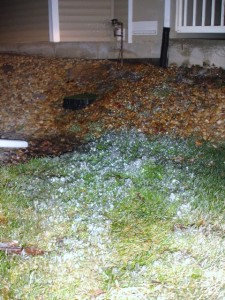
Overgrowth – This is public enemy #1 to the pop up sprinkler head. The thatch and overgrowth of grass will crowd the sprinkler stem and prohibit smooth unobstructed movement of the stem up and down when the system turns on/ off. Often times this stem will get mowed over and cut by lawnmowers and string trimmers resulting in gallons of wasted water and the loss of pressure in the zone. Regular trimming around the collar of the head is crucial to great efficiency out of the sprinkler head.
Poly elbow – Ends a run of pipe and joined together with pinch or hose clamps
Poly tee – joins two pieces of poly pipe together with the use of pinch clamps or hose clamps.
Polyethylene Pipe (Poly pipe) – Typical sprinkler pipe usually rated to 100 psi operating pressure; used in most of the main lines and lateral lines of the system. Usually black in color
Polyvinylchloride (PVC Pipe) – In layman’s’ terms – (white plastic colored pipe) the thickness should be rated at schedule 40. Schedule 80 which is thicker and stronger than 40 is acceptable but more expensive and harder to find. The PVC is glued together with primer and glue. Should not be used above ground due to it’s non Ultraviolet rating and deteriorates in the sun and may crack unexpectedly
Poppet – The lower smaller portion of the guts of the vacuum Breaker. They move up to seal against the bonnet.
Pop-up Sprinkler Head – This type of sprinkler head is a fixed position head (unless a MP Rotator or Rainbird rotary nozzle is attached to the stem) it literally “pops up” and then retreats when the zone turns off. A common problem is “sticky stems” when the stems fail to retreat into the collar or body housing. This is usually caused from too much overgrowth that prohibits the stem from going down unobstructed and the stem becoming scratched by dirt and debris that rubs against the stem
Riser – The threaded portion that attaches to an elbow or tee and connects the sprinkler head to the elbow or tee. Sometimes the riser is an actual elbow and or tee
Rotary Sprinkler Head – This type of sprinkler head pops up but has the added feature of a rotating stem which can be preset and adjusted to a determined arc and then returns to starting position and repeats this process over and over until the zone shuts off.
Rotary Sprinkler Nozzle – MP rotator and Rainbird rotary nozzle
Schedule 40 PVC – Standard type PVC for sprinkler systems; usually white in color but can also be gray. It is stamped with SCH 40 on the parts.
Schedule 80 PVC – a thicker stronger type of PVC, often gray in color. It is stamped with SCH 80 on parts
Solenoid – This is the device that allows the diaphragm to open up and allows the water to pass through the valve body. It has two wires that run the current through the timer and creates a switch to turn off/ and on the zone. It attached to the top of the electric valve and can be moved manually to operate the electric valve from the irrigation box.
Standing water pressure – This is the average water pressure taken from two of more hose bibs/ spigots, and divided by the number of hose spigots tested. Water should be still/ not moving or “standing” during this test/ reading. Nothing else demanding water should be running during this test
Stem Pressure – This indicates the firmness of the stem while the station is running (Is it soft and mushy; able to be pushed down with minimal force or is hard and firm and resists pressure when palm placed on top and pushed downward)
Test cocks/ ports – these are very small “baby ball valves” usually mounted to the side of the vacuum breaker housing and used to test the unit and do blowouts. Sometimes they are mounted directly to the ball valves as in the Wilkins 720 models.
Timer/ Controller – The electronic brains of your sprinkler system; controls each individual station on the system, also the length and time the station runs, customizable dates to water etc.
Timer/ Station Wire – The wire that is attached to a particular station on the timer; the corresponding color wire will be in the Irrigation box unless the cable has been spliced and timer wires colors may not be consistent or the same is splicing has occurred.
Common wire – The wire inserted into the “com” or common port on the timer and supplies power to the electric valves; commonly the white wire but can be any color
Vacuum Breaker Body Housing –The main area under the canopy that houses the guts (Bonnet and poppet) of the vacuum breaker; usually has a vertical and horizontal ball valve connected to the housing.
Vacuum Breaker/ Anti-Siphon Valve (VB) – Commonly referred to as a bell Housing due to the shape of the Canopy and the Vacuum Breaker Housing resembling a Bell. In simple terms this device stops water from being back-siphoned into your home drinking water system.
Valve Diaphragm – The “guts” of the electric valve; resembles a rubber gasket and is moved up and down by the solenoid
Valve drain – This is usually found on the sprinkler system shut off valve and should be located between the valve handle and the vacuum breaker. (It is not that uncommon for these drains to be put in backwards and have the drain on the active water side) used in an emergency shut down procedure and draining of the interior pipes.
Wilkins 720A – A common model of vacuum breaker with a black plastic canopy and three silver colored screws that hold the canopy in place. The guts of this unit whether 3/4 inch or 1 inch are identical and interchangeable; it’s guts are mostly metal unlike the Febco 765 whose guts are plastic.